Physical Address
304 North Cardinal St.
Dorchester Center, MA 02124
Physical Address
304 North Cardinal St.
Dorchester Center, MA 02124

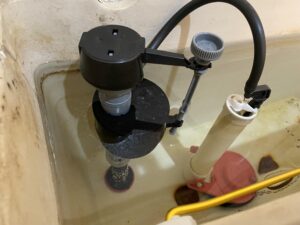
If your toilet keeps running after you flush it, or if the water level in your toilet tank is too high or too low then you likely need to adjust your toilet float.
This is a simple job that any homeowner should be able to handle without much help.
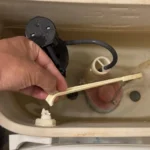
Use you hand to move the float up and down.
This will do two things. First, it will allow you to check if the toilet float is sticking or binding up anywhere. If the toilet float cannot move freely then you will have persistent issue regardless of how you adjust it. This is particularly common with cup type floats. If your float is rubbing or sticking often times a little bit of Vaseline can solve your whole issue.
The second thing this will do is potentially break up any scaling in the fill valve that may occur from having hard water in your house.
It takes two seconds to play with the float and it could potentially fix your whole problem, there is no reason to skip this step.
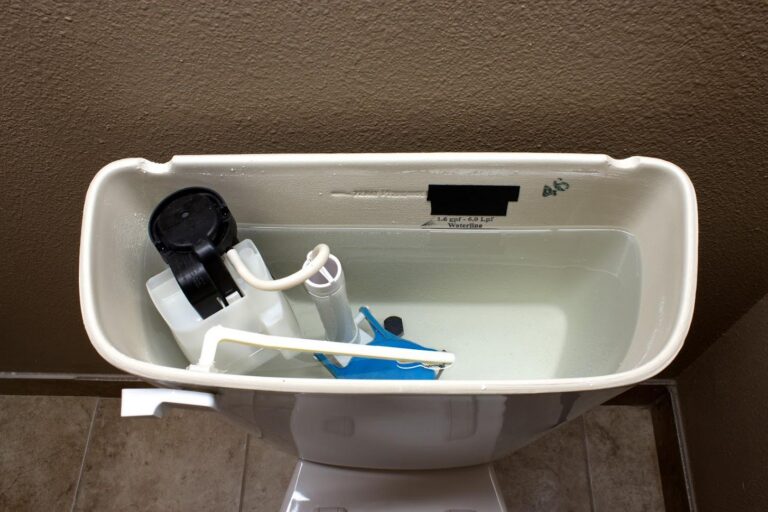
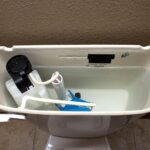
Take the lid off of the toilet tank and flush the toilet.
Watch the water as the tank fills. Pay attention to where the water stops.
If the water rises into the overflow tube, the water level is too high and the float may need to be adjusted.
If the water stops filling much lower than where it is supposed to then you most likely need to adjust the float.
If the water level is low and stays low while the toilet is running then you have a flapper issue and you need to replace your toilet flapper.
→ [How to Change a Toilet Flapper]
There is one last thing I want you to check before you continue. Lift the float to where the water level should be. If the water does not stop running then adjusting the float won’t do you much good, you need to replace your fill valve because it is not shutting off.
→ [How to Replace Toilet Fill Valve]
Different floats need to be adjusted in different ways.
The two common types of floats are ball floats and float cups. If your float, regardless of the shape, is on a lever arm that sticks out into the toilet tank then you have a ball float.
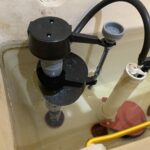
Newer toilets have a float cup that is part of the fill valve. This will be a hollow plastic piece that can slide up and down the fill valve.
If you have a ball float, the lever arm should be threaded. Screw the float onto the arm to lower the water level, and screw the float off of the lever arm to raise the water level.
If you have a cup type float then you should see a little thumb wheel on the arm coming straight out of the top of the float. Tightening that thumb wheel will raise the float and raise the water level. If you want to lower the water level then you should looses that thumb wheel to lower the float.
When you are making your adjustments I want you to do it a little at a time. Make a small adjustment then flush the toilet and see where the new water level ends. You will eventually get a feel for it.
Try to leave at least half an inch between the water level and the top of the overflow pipe.
If the water level is correct then adjusting he float more will not stop your toilet from running.
If you cannot get the toilet water level up despite how you adjust the float then it is likely that you have a leaking flapper valve that will need to be replaced.
→ [How to Change a Toilet Flapper]
If your toilet will not stop filling despite how you adjust the float then it is likely that your fill valve is leaking and you will need to replace that instead.
→ [How to Replace Toilet Fill Valve]
One last word of advise. The toilet tank and bowl are not the same thing. Of your tank has the correct level but your toilet bowl is not filling then it is most likely your refill tube. There is a small tube coming off of the fill valve and goes into the overflow tube. If this valve is missing or mispositioned your bowl will not fill with water.