Physical Address
304 North Cardinal St.
Dorchester Center, MA 02124
Physical Address
304 North Cardinal St.
Dorchester Center, MA 02124
Texturing a wall is one of those jobs that looks much harder than it actually is. The difficult part isn’t necessarily applying the texture. The difficult part is getting the new texture to look like it belongs with the existing wall.
There are several different types of wall texture, and the method you use will depend on what is already on the wall. Orange peel, knockdown, popcorn, and other textures all require slightly different techniques. For this guide, I’m going to focus on the most common textures you’ll run into when repairing drywall, particularly orange peel and knockdown.
If you’re trying to match an existing texture after a drywall repair, I recommend practicing on a piece of cardboard or scrap drywall first. Texture is difficult to remove once it’s on the wall, and five minutes of practice can save you from having to redo the repair.
For a basic wall-texturing job, I typically gather:
The exact materials will depend on the type of texture you’re trying to create. For a small repair, you can usually get away with a texture aerosol can. For a larger area, I prefer using a hopper gun because I have much more control over the consistency and application.
Before putting any texture on the wall, make sure the surface is ready.
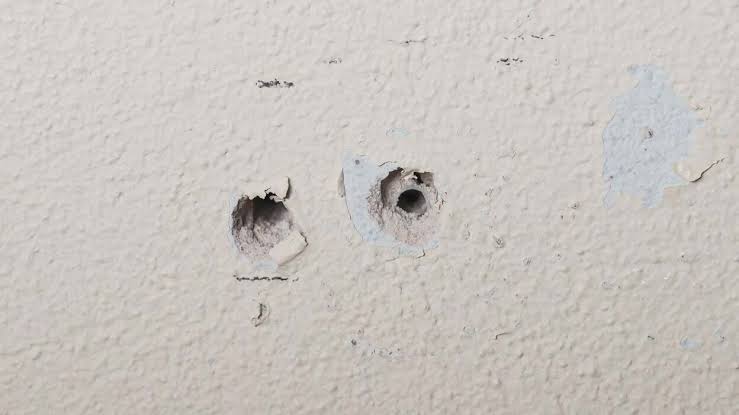
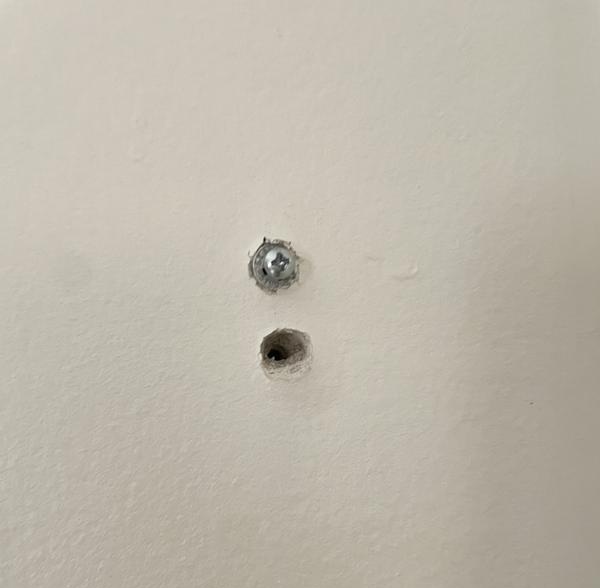
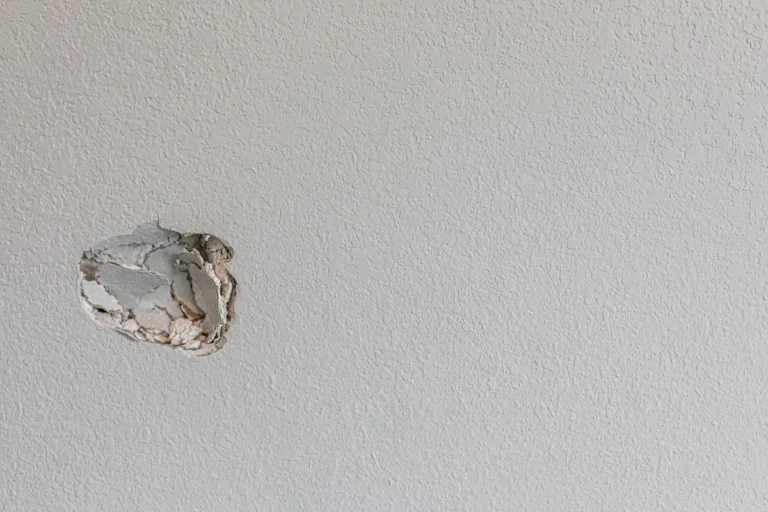
If you’re repairing drywall, the joint compound should be completely dry, sanded smooth, and free of dust. Run your hand across the repair before you start. Your hand will usually find imperfections that your eyes won’t.
I also recommend wiping the wall down with a slightly damp cloth to remove any remaining dust.
Texture will not hide a bad drywall repair as well as you might think. In fact, depending on the lighting, it can sometimes make an uneven repair more noticeable.
Texture gets everywhere.
Cover the floor with a drop cloth and use plastic sheeting to protect anything you don’t want covered in drywall mud. If you’re spraying texture, I would take this step particularly seriously.
I also tape off trim, outlets, switches, cabinets, and anything else near the area you’re working on.
It takes considerably less time to cover something than it does to clean dried texture off of it.
Before applying anything, look closely at the existing wall.
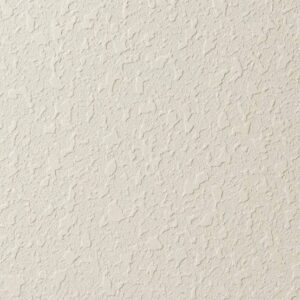
If the wall has an orange-peel texture, you’ll generally see small raised bumps across the surface. Knockdown texture has larger blobs that have been partially flattened with a drywall knife.
The best way to figure out what you’re dealing with is to look at the wall from the side under good lighting. If you’re repairing a small area, look directly around the repair rather than trying to match a texture from another room.
Even walls that look like they have the same texture can have noticeable differences in the size and density of the texture.
If I’m using joint compound to create the texture, I thin it with water until it reaches the consistency I need.
The exact consistency depends on how I’m applying it. A thicker mixture produces heavier texture, while a thinner mixture produces smaller and more spread-out texture.
I prefer starting with a thicker mixture and adding small amounts of water until I get where I want. It’s much easier to thin joint compound than it is to thicken it back up.
Don’t mix an entire bucket until you’ve tested the consistency. Make a small batch first and see how it looks.
For a small repair, you can apply texture using an aerosol texture product or by using a small brush, sponge, or drywall knife depending on the texture you’re trying to match.
For larger areas, I prefer spraying the texture. Hold the nozzle a consistent distance from the wall and make several light passes rather than trying to cover everything in one pass.
The farther away you hold the sprayer, the finer the texture will generally be. Moving closer will usually produce a heavier texture.
The important thing here is consistency. If you spray one section heavily and another section lightly, the difference will be obvious once the wall is painted.
Knockdown texture requires one additional step.
After applying the joint compound and allowing it to sit briefly, I use a clean drywall knife to lightly flatten the raised portions of the texture.
The knife should glide across the surface rather than scrape everything off. I don’t press hard. The goal is to knock down the high points while leaving the texture underneath.
This is one of those techniques that is much easier to understand after practicing it a few times.
Once the texture looks right, leave it alone and let it dry completely.
Don’t start priming or painting while the texture is still damp. If you disturb it too early, you can flatten or smear the texture and end up having to repair it.
Drying time will depend on the product, thickness, temperature, and humidity, so I generally give it more time than I think it needs.
Once the texture is completely dry, prime the repaired area.
Fresh texture and joint compound absorb paint differently than an existing painted wall, so primer helps create a more consistent surface.
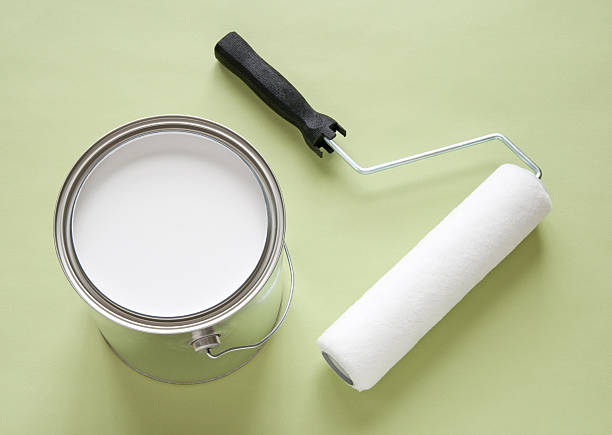
After the primer dries, apply your matching paint.
If I’m working on a small repair and I have the original paint, I’ll usually try a touch-up first. If the wall is older or the paint has faded, I prefer painting the entire wall from corner to corner.
This usually gives me a better color match than trying to blend new paint into old paint.
For small repairs, you don’t necessarily need a hopper gun or a bucket of joint compound.
There are aerosol texture products specifically designed for small drywall repairs. These can be a good option if you’re only trying to match a small patch.
I actually prefer this method for small repairs when the existing texture is relatively light. It is faster, creates less mess, and doesn’t require buying equipment that you may never use again.
The downside is that you have less control over the texture, so I recommend testing the spray on cardboard first.
Orange peel is probably the texture I encounter most often when repairing drywall.
The biggest mistake I see is applying too much texture at once. It’s tempting to spray until the entire repair looks heavily textured, but the texture will usually look different once it dries and is painted.
I prefer several light passes. I start with a lighter application and build it up until it matches the surrounding wall.
Stand back occasionally and compare the repair to the existing wall. Don’t judge the texture from six inches away. You’re trying to match the wall, not create the perfect-looking texture in isolation.
The biggest thing I would emphasize is practice before you spray the wall.
Texture is one of those jobs where a small change in technique can make a surprisingly large difference. Spray the same mixture from different distances onto a piece of scrap drywall and see what happens.
I also recommend matching the existing texture rather than trying to create what you think the texture is supposed to look like. The wall in front of you is the standard you’re trying to match.
If you’re repairing a small area, don’t make the textured portion unnecessarily large. However, don’t make the transition so abrupt that you can clearly see where the repair ends. I generally blend the texture gradually into the surrounding wall.
Lighting matters too. A repair that looks perfect under one light can stand out under another. Before you call the job finished, look at it from several angles and, if possible, under the same lighting the wall normally receives.
Another mistake is trying to use texture to hide a bad drywall repair. Texture can disguise minor imperfections, but it isn’t a substitute for properly finishing the drywall underneath.
Finally, don’t be afraid to take your time. The actual texture application can be very quick. Getting the preparation, consistency, application, and paint right is what determines whether the repair disappears.
My preferred method is to properly finish the drywall first, then build the texture gradually until it matches the surrounding wall. For small repairs, I’ll often use an aerosol texture spray because it’s quick and doesn’t require much equipment. For larger jobs, I prefer a hopper gun because it gives me more control.
Once the texture is dry, properly primed, and painted, a good repair should blend into the rest of the wall rather than looking like a repair was ever there.