Physical Address
304 North Cardinal St.
Dorchester Center, MA 02124
Physical Address
304 North Cardinal St.
Dorchester Center, MA 02124


Moving out of a rental comes with plenty of things to think about, and damaged drywall is an easy one to overlook.
A few holes from hanging pictures, a damaged drywall anchor, or a small dent from moving furniture may not seem like a big deal. But if you’re trying to get your security deposit back, it’s worth taking care of minor wall damage before you hand over the keys.
The good news is that you don’t need a garage full of drywall tools to repair most minor damage. Both Home Depot and Lowe’s carry inexpensive drywall repair kits that include most of what you’ll need.
Here are couple different approaches based on your situation.
Before you start filling holes, check your lease.
Some rental agreements specify what you’re responsible for repairing and what the landlord considers normal wear and tear. Your state and local laws may also affect how security deposits are handled.
I don’t know your lease agreement but what I can tell you is that leaving obvious, preventable wall damage behind generally isn’t going to help your case.
For minor cosmetic damage, a simple repair can be worthwhile.
If the wall has major damage, water damage, mold, or damage involving electrical wiring or plumbing, that’s a different situation. I’d contact the landlord or property manager rather than trying to conceal the problem.
Before buying a repair kit, look closely at the wall.
If you’re dealing with a hole left by a picture nail, small screw, or similar hardware, you probably don’t need a patch.
For this I would recommend a simple pre made kit solution.
The method I outline here costs $6 and only takes minutes. That’s a pretty good deal to save a months worth of rent.
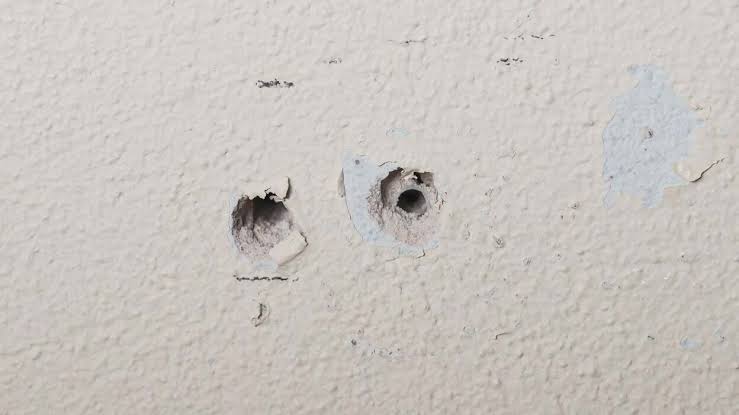
If you’ve removed a wall anchor and you’re left with a hole that’s an inch or two across, a small drywall repair kit with a reinforcing patch can make the job easier.
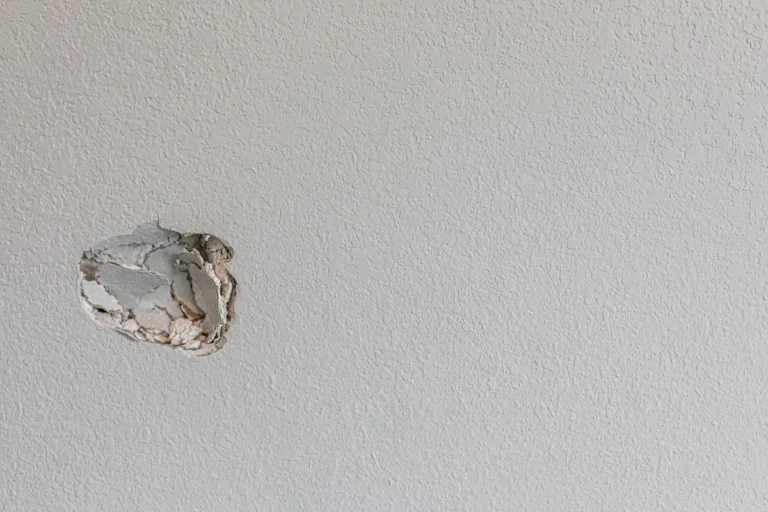
A dent doesn’t necessarily require a patch.
If the drywall is still intact, you can usually fill the damaged area with spackling or wall-repair compound.
This is where I’d stop and take a closer look.
A crack that runs well beyond the original damage, drywall that is loose, or a wall that feels soft could indicate a larger problem.
That’s something I’d discuss with the property manager rather than simply covering it with compound.
If you’re moving out, start by removing everything you’ve attached to the wall.
Take down:
When removing a nail or screw, try to pull it straight out.
Don’t pry against the drywall any more than necessary. You can easily turn a tiny hole into a much larger one.
For plastic drywall anchors, I try to remove them carefully. If an anchor won’t come out without significantly damaging the wall, pushing it slightly below the surface and covering it may be the better option.
This is a step I wouldn’t skip.
Use a putty knife or the edge of the repair-kit tool to remove loose pieces of drywall and torn paper.
You don’t need to make the hole bigger than it already is.
The goal is simply to create a clean, stable surface for the repair material.
Wipe away the dust with a slightly damp rag and let the area dry.
For a small hole, apply the spackling included in your repair kit directly into the opening.
Press it into the hole rather than simply spreading it across the surface.
Then use the putty knife to scrape away the excess.
You want the repaired area to be relatively flat.
If the hole is larger and your kit includes a mesh or fiber patch, follow the instructions supplied with the kit.
Generally, you’ll place the patch over the damaged area and then cover it with the included repair compound.
Don’t worry if the first application isn’t perfectly smooth.
You’re going to finish the surface after it dries.
This is where patience pays off.
Give the repair material enough time to dry before sanding.
The exact drying time varies between products and depends on how thickly you’ve applied the material.
Some products change color as they dry. DAP DRYDex, for example, is designed to change from pink to white as it dries.
That can be useful because it gives you a visual indication that the material is ready for the next step.
Don’t sand or paint simply because the surface feels dry.
Follow the instructions on your particular product.
Once the repair is completely dry, lightly sand it.
Use the sanding sponge or sandpaper included in your kit if one is provided.
You aren’t trying to sand the entire wall.
You’re simply trying to remove high spots and blend the edges of the repair into the surrounding drywall.
I like to run my fingers over the area after sanding.
If I can feel a ridge, I’ll sand it a little more.
If there’s a depression, I’ll apply another thin layer of repair compound rather than trying to sand the surrounding wall down to it.
Don’t over-sand.
It’s surprisingly easy to create a larger damaged area by aggressively sanding drywall paper.
This is the step renters are most likely to skip.
I wouldn’t.
Fresh spackling and joint compound absorb paint differently from the existing wall. If you paint directly over the repair, you may end up with a noticeable dull or shiny spot.
Apply a small amount of drywall primer over the repaired area.
You don’t necessarily need to prime the entire wall.
Let the primer dry completely before painting.
This is often the hardest part of a rental repair.
Even if you know the exact paint color, the paint on the wall may have faded over time.
If your landlord left extra paint in the unit, use that if it’s still in good condition.
If you don’t have matching paint, you can take a small paint sample to a home-improvement store and have it color matched.
Even then, a perfect color match doesn’t guarantee an invisible touch-up. The existing wall may have a different sheen, texture, or degree of fading.
For a small repair in an inconspicuous area, a careful touch-up may be sufficient.
For a very visible wall, you may get a better result by painting the entire wall from corner to corner.
For a renter repairing a few small holes, I wouldn’t overbuy.
A basic repair kit can be enough for several small repairs.
If you have multiple holes throughout the apartment, it may make sense to buy a larger kit or a container of lightweight spackling rather than purchasing a separate kit for every hole.
The goal isn’t to build a drywall-repair collection.
It’s to make the wall look like it did when you moved in, within the limits of what you’re responsible for.
If you’re repairing drywall specifically because you’re moving out, don’t wait until the day before your final inspection.
Drywall compound needs time to dry, and paint may need multiple coats.
I prefer to repair everything first and then walk through the property again after the repairs have dried. Imperfections that weren’t obvious while the compound was wet can become much easier to see once the wall is painted.
I also recommend taking photographs of the walls after you’ve finished your repairs.
I’m not suggesting that photographs guarantee the return of your deposit. They don’t.
But having dated documentation of the condition of the property when you leave can be useful if there is later a disagreement about the condition of the unit.
Another thing I wouldn’t do is try to hide serious damage.
If you’ve discovered a significant water leak, mold, damaged wiring, or a large section of compromised drywall, covering it with spackling isn’t a repair. It’s just concealing the problem.
For small cosmetic damage, however, these inexpensive repair kits can be surprisingly effective.
The key is to match the repair method to the damage.
Small nail hole? Fill it.
Small anchor hole? Patch it.
Large or unstable section of drywall? Talk to the landlord.
And remember that your lease and local law determine what your landlord can actually charge you for. A clean-looking repair is useful, but it doesn’t override your rights or responsibilities as a tenant.
The objective isn’t to perform a professional drywall renovation before moving out.
It’s much simpler than that.
Take care of the minor damage you are responsible for, don’t create additional damage while repairing it, document the condition of the property, and leave the walls in the best condition you reasonably can.